How to Clean Timber Floors the Right Way (Without Damaging Them)
Timber floors can last decades — but only if you clean them correctly. The wrong mop, the wrong product, or even too much water can dull the finish, warp the boards, or cause damage that no amount of cleaning will fix.
This guide covers everything: daily routines, deep cleaning, stain removal, what products actually work, and what to avoid entirely. Whether you’re maintaining an existing floor or researching before you buy, here’s what you need to know.
Know Your Floor Before You Clean It
Not all timber floors are the same, and cleaning methods that work on one type can damage another.
- Solid Timber is cut from a single piece of wood and sealed with polyurethane or an oil-based finish. It’s durable but highly sensitive to moisture. Too much water causes the boards to swell, cup, or warp — sometimes permanently.
- Engineered Timber has a real wood veneer bonded to a plywood core. It handles humidity better than solid wood, but the top layer is thin. Aggressive scrubbing or abrasive cleaners can wear through the veneer faster than you’d expect.
- Floating Timber Floors are not nailed or glued to the subfloor. They sit on an underlay, which means water that gets between panels or into seams has nowhere to go — leading to moisture damage underneath the surface where you can’t see it.
- European Oak is slightly softer than Australian hardwood, which means it scratches more easily. Avoid stiff-bristled brooms or vacuums with rotating brush rolls on oak flooring.
If you’re deciding between solid hardwood vs engineered floors, solid timber offers the best refinishing potential — it can be sanded and recoated multiple times. Engineered floors have a limited wear layer that allows one to three refinishes, depending on thickness.
What You’ll Need to Clean a Timber Floor
You don’t need a cabinet full of products. A focused set of tools does the job:
- Soft-bristle broom or microfibre dust mop
- Vacuum with a hard floor setting (no rotating brush bar)
- Flat microfibre mop (not a string mop)
- pH-neutral timber floor cleaner
- Clean microfibre cloths for spot cleaning and drying
- Felt pads for furniture legs
Avoid sponge mops and string mops — they hold far too much water and spread grime around rather than lifting it.
Daily Cleaning: The Habit That Does Most of the Work

iStock/South_agency
Fine dust, grit, and debris are the main culprits behind dull, scratched timber floors. Even soft particles act like sandpaper underfoot, wearing down the protective finish over time.
Sweep or vacuum high-traffic areas daily. In homes with pets or children, this is non-negotiable. For lower-traffic spaces, every two to three days is fine.
When vacuuming, always use the hard floor setting and ensure the rotating brush roll is disengaged. Vacuum in the direction of the wood grain to avoid pushing grit into the gaps between boards.
For offices, pay extra attention to chair paths, entry points, and areas near desks. Office chair castors, even soft ones, create repetitive pressure and friction in the same spots. Chair mats in workstation areas protect the floor finish far better than any cleaner can.
Weekly Cleaning: Damp Mopping Done Right
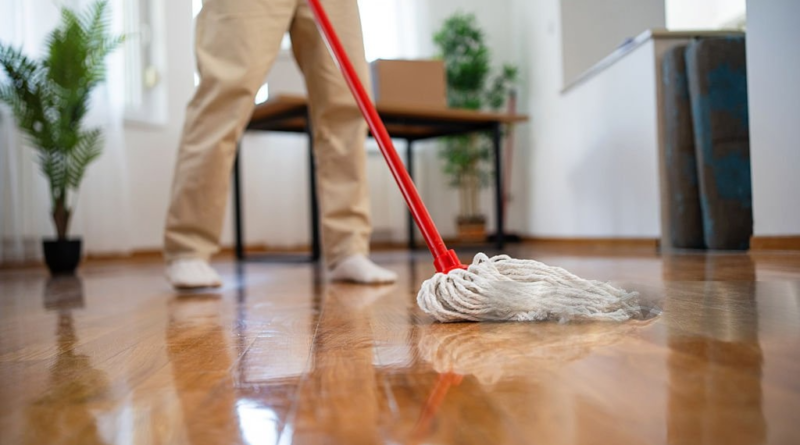
Once a week (or more in busy areas), follow up your dry clean with a damp mop.
Fill a bucket with warm — not hot — water and add the recommended amount of pH-neutral timber floor cleaner. Do not use vinegar, ammonia, bleach, or multipurpose household cleaners. These strip the protective coating, dull the finish, and over time cause irreversible surface damage.
Wring the mop until it is barely damp — not wet. If water is dripping from the mop head, it has too much moisture. Mop in the direction of the wood grain, working in sections. Rinse and wring the mop frequently.
Never leave the floor wet. If water is sitting on the surface after mopping, dry it immediately with a clean microfibre cloth. Standing water is one of the fastest ways to damage timber floors, particularly around board seams and edges.
Deep Cleaning: When to Do It and How
iStock/Nikola Stojadinovic
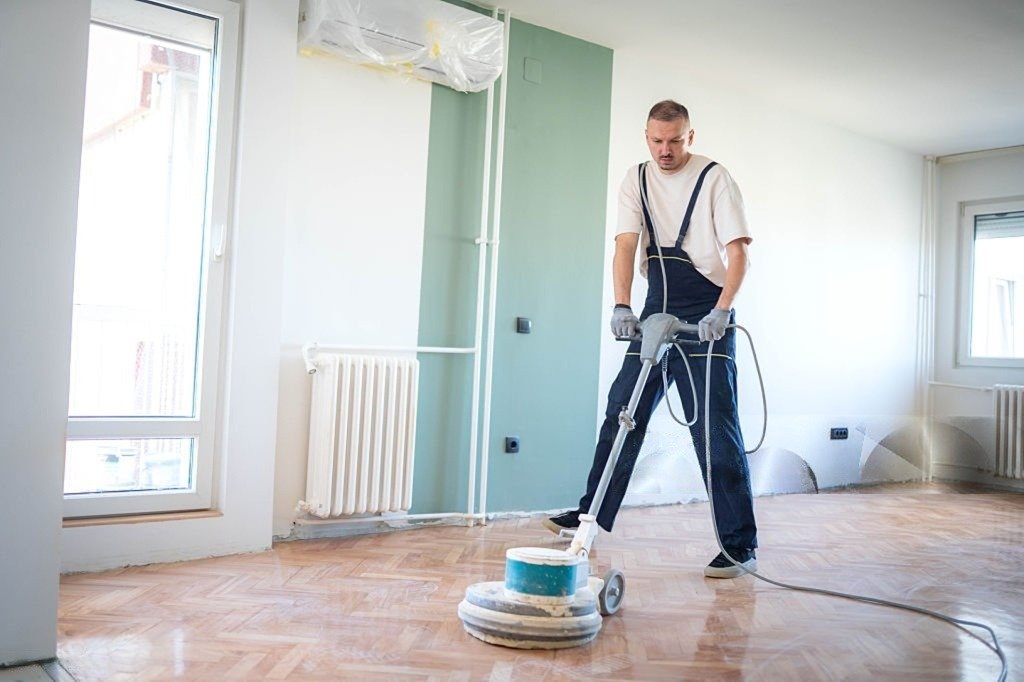
Deep cleaning is not a weekly task. Once a month is adequate for most homes, and every two weeks for high-traffic office floors.
Use a timber-specific deep cleaner rather than your standard pH-neutral maintenance cleaner. Apply it to the mop head, not directly to the floor, and work in small sections of around one square metre at a time. This keeps moisture controlled and gives the product time to lift built-up grime without sitting on the surface.
For stubborn marks or residue, dampen a microfibre cloth with diluted cleaner and blot the spot. Do not scrub with circular motions; this can leave visible marks in the floor finish. Blot, wipe in the grain direction, and dry immediately.
If your floor looks hazy or dull after mopping, the likely cause is product buildup from previous cleaning sessions. A dedicated timber floor restorer can dissolve this residue and bring back the natural sheen.
Stain Removal: Acting Fast Is Everything
Timber absorbs liquids quickly. The longer a spill sits, the greater the risk of staining or moisture damage beneath the finish.
- For liquid spills — Blot immediately with a dry microfibre cloth. Don’t rub, as this spreads the liquid. Once the bulk is absorbed, wipe the area with a slightly damp cloth and dry thoroughly.
- For sticky residue or food — Soften it first with a cloth dampened in warm water and a small amount of pH-neutral cleaner. Gently wipe in the direction of the grain. Avoid scraping with metal tools or abrasive pads.
- For candle wax or chewing gum — Place a sealed bag of ice over the area until the substance hardens and becomes brittle, then carefully lift it off with a plastic scraper. Clean the remaining residue with a damp cloth.
- For scuff marks — A small amount of timber floor cleaner on a soft cloth, rubbed gently along the grain, usually removes them. If the scuff has penetrated the finish, it may need spot polishing or professional attention.
- For pet accidents — Clean immediately and thoroughly. Urine in particular has a high acidity that attacks the timber finish and, if left, can penetrate into the wood itself. Use a timber-safe enzymatic cleaner if available, or a pH-neutral cleaner applied quickly.
What Not to Use on Timber Floors
This is where many people cause unintentional damage. The following should never be used on timber or hardwood floors:
- Steam mops — the combination of heat and moisture penetrates the finish, causes board swelling, and can delaminate engineered flooring. Even sealed floors are not safe from steam over time.
- Vinegar — it is acidic, and regular use strips the polyurethane or oil finish, leaving the wood surface dull and vulnerable. Diluted vinegar might seem gentle, but the damage is cumulative.
- Ammonia and bleach-based cleaners — these are too harsh for any timber surface. They discolour the wood, degrade the finish, and are difficult to reverse.
- Oil-based soaps on polyurethane-sealed floors — they leave a residue that builds up with each wash, creating a sticky, dull film that’s hard to remove.
- Vacuums with rotating brush bars — the beater bar that works well on carpet will scratch and gouge a timber floor finish.
Learn more about the Dos and Don’ts of Hardwood Cleaning
Preventive Care: Protecting the Floor Between Cleans
Cleaning keeps the floor tidy. Preventive care keeps it in good condition long-term.
- Doormats at every entry point — Outside to catch soil and moisture, inside to catch what gets through. This single step significantly reduces the amount of grit reaching the floor.
- Felt pads under all furniture — Check and replace them regularly. Worn felt pads develop embedded grit that scratches the floor with every movement. In offices, replace felt pads on frequently moved chairs and desks every few months.
- Humidity control — Timber expands in humidity and contracts in dry conditions. Keeping indoor relative humidity between 35% and 55% reduces the stress on the boards, minimising gaps, cupping, and cracking. Use a humidifier in dry winter months and a dehumidifier or air conditioning in humid summers.
- UV protection — Prolonged direct sunlight fades and discolours timber unevenly. Use blinds or UV-filtering window film in rooms where the floor gets strong direct sun.
- Shoes-off policy — High heels cause point-pressure damage to timber floors. Fine gravel caught in shoe treads acts like sandpaper on the finish. In home settings, a shoe-free entry is one of the simplest forms of floor protection available.
When to Refinish
Regular cleaning maintains the surface, but the protective finish wears down over time — especially in high-traffic areas like hallways, kitchens, and office corridors.
A simple test: Pour a few drops of water on the floor. If the water beads on the surface, the finish is intact. If it soaks in or spreads flat, the protective coating has thinned, and it’s time to recoat.
Recoating is the process of applying a fresh layer of finish without sanding. It extends the floor’s life and restores its appearance. Most timber floors in residential settings need recoating every three to five years in busy areas. A full sand and refinish is needed far less often, typically once a decade or when surface scratches are deep enough to reach bare wood.
A Simple Cleaning Schedule to Follow
| Frequency | Task |
| Daily | Sweep or vacuum high-traffic areas |
| Weekly | Damp mop with pH-neutral cleaner |
| Monthly | Deep clean; check for stains or worn areas |
| Every 6 months | Inspect finish; buff if needed |
| Every 3–5 years | Recoat finish in high-traffic zones |
Timber floors are worth the care. A consistent routine takes less time than most people expect, and the payoff — floors that stay in excellent condition for decades — is significant. Whether you’re managing a family home or a commercial office space, the principles are the same: keep them dry, keep them clean, and use the right products every time.